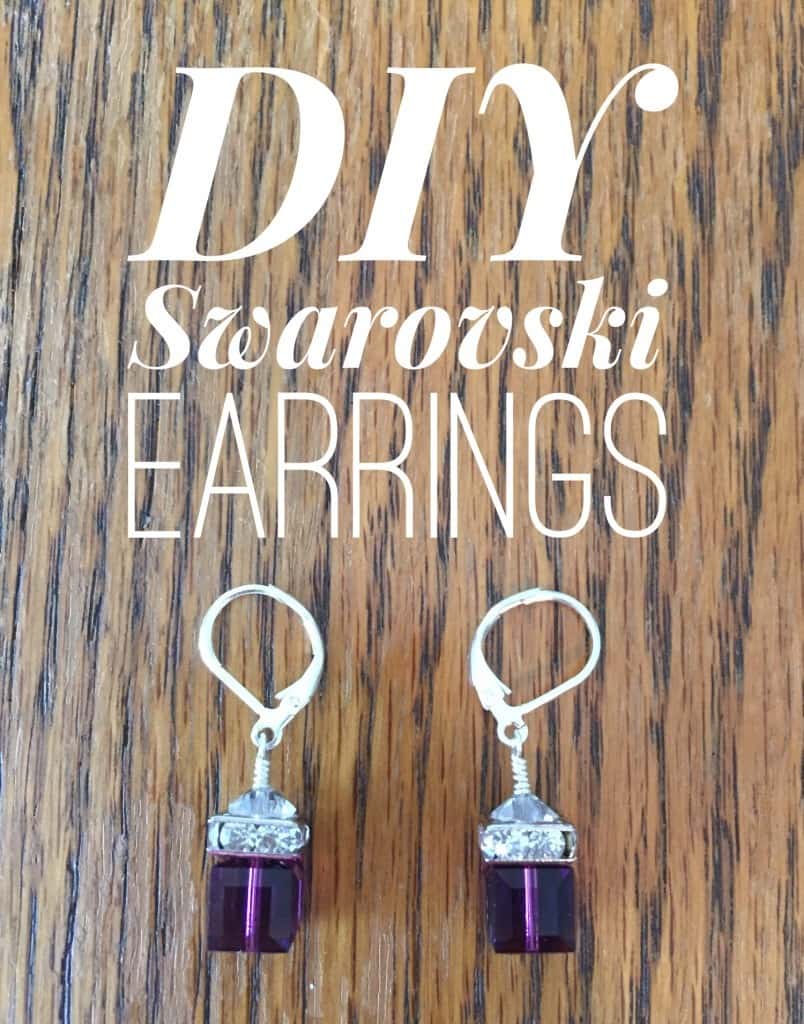
DIY Swarovski Earrings - Geometric Cube Dangles

Hi everybody, this is Kyle from Enreverie! Today I am happy to present a tutorial for some DIY Swarovski cube earrings. Easy to make, inexpensive, and it has a trendy geometric look! Here is everything you need to make the earrings:
Tools:
- Round Nose Pliers
- Chain Nose Pliers
- Bent Nose Pliers
- Wire Cutters
Findings:
- 2 Silvertone headpins (2 inch, 21 or 24 gauge)
- 2 clear Swarovski 6mm crystal spacers
- 2 8x8mm silvertone squaredelles
- 2 8x8mm Swarovski cubes
Steps:
First off, take your headpin and string on your Swarovski cube, then the squaredelle, then the spacer. This will give you the basic shape of the earrings.
Next we are going to wire wrap the loop. This is the trickiest part, but it really does come with practice.
First take your roundnose pliers. Grip the headpin pretty close to the spacer (this will help you make as few wire twists as possible, which will make the piece look better). Bend the headpin over the top of the pliers, so the headpin is now bent down at about 45 degrees.
Then you'll readjust the round nose pliers so you have a roundnose arm on the outside of your headpin curve. I grip as far towards the tip of the round nose pliers as I can, because it's going to make a smaller loop.
Then use your bent nose pliers to bend the headpin over the top of the roundnose plier arm. Now the headpin should be pointed 45 degrees down in the other direction.
Then readjust your round nose pliers again, so the bottom plier arm is inside the loop we are starting to form.
Keep bending the headpin through with your bent nose pliers until you have your loop. At the end your headpin angle will be perpendicular. If you don't like how your loop looks right now, this is a good time for little adjustments! For adjusting, keep your round nose plier arm in the loop, and adjust with your bent nose pliers by pulling the headpin until you get a shape you like.
Take your chain nose pliers and grip the loop. Then with your bent nose pliers, start to twist the headpin around the vertical part of the headpin that is exposed under the loop. Twist the headpin around and around until the whole exposed part is wrapped up. (one reason a thicker headpin is nicer is because then you can usually wrap the headpin in 2 loops, which looks a little nicer).
The more you do this, the cleaner of a look you'll get with the twist!
Now you have the wire wrapped around the loop, and you'll have some excess wire sticking out. Take your wire cutters, and snip the wire as close as you can. You have to snip it close, because you have to hide the rest of the wire that you can't clip.
Take your chain nose pliers and squeeze the rest of the wire under the loop.
So now we have our loop and our wrap, and our last step is to get the leverback on. Take your leverback head and take your chain nose pliers and gently twist out the loop (don't pull, twist!). Look at the wire twists on your earrings and see what side looks best, and string on the loop so the best side is facing forward. Twist the leverback loop closed, and you are complete!
Your DIY Swarovski earrings are ready to wear!
If you want, you can glue the squaredelles to the cube so the squaredelles are always in line with the edges of the cube. Alternately, you can make sure your wire wrap is really tight, and that should keep everything in place.
Thanks for reading! I hope you like the earrings :) Also, if you want to just buy a pair, you can find them here!


